")
[ad_1]
As is quite common, the dome gentle panel that attaches to the roof behind the sunroof opening (in a sunroof automotive, clearly) was warped, swollen and crusty. I had some 1/8″ melamine/whiteboard materials, so I believed why not?
Fortunately mine was in respectable sufficient form to make use of as a template. Lower it out, marked the suitable holes for the panel clips, headliner rod brackets, the dome gentle and the wiring clips. After I bought all the holes drilled and cleaned up, I utilized some urethane varnish to the unfinished brown facet to assist stop future swelling and deforming. I paid further consideration to the insides of the holes, the place water can be prone to do extra injury. I like to recommend drilling slowly, and clamping a backing board to stop the holes from getting too deformed from the drill bit punching by means of.
Listed below are the pics of the method, with numerous measurements and notes handwritten in scraps of paper on the panel as I went. It is kinda fairly, for a component that can by no means once more see the sunshine of day. Hopefully somebody, sometime will discover this handy.
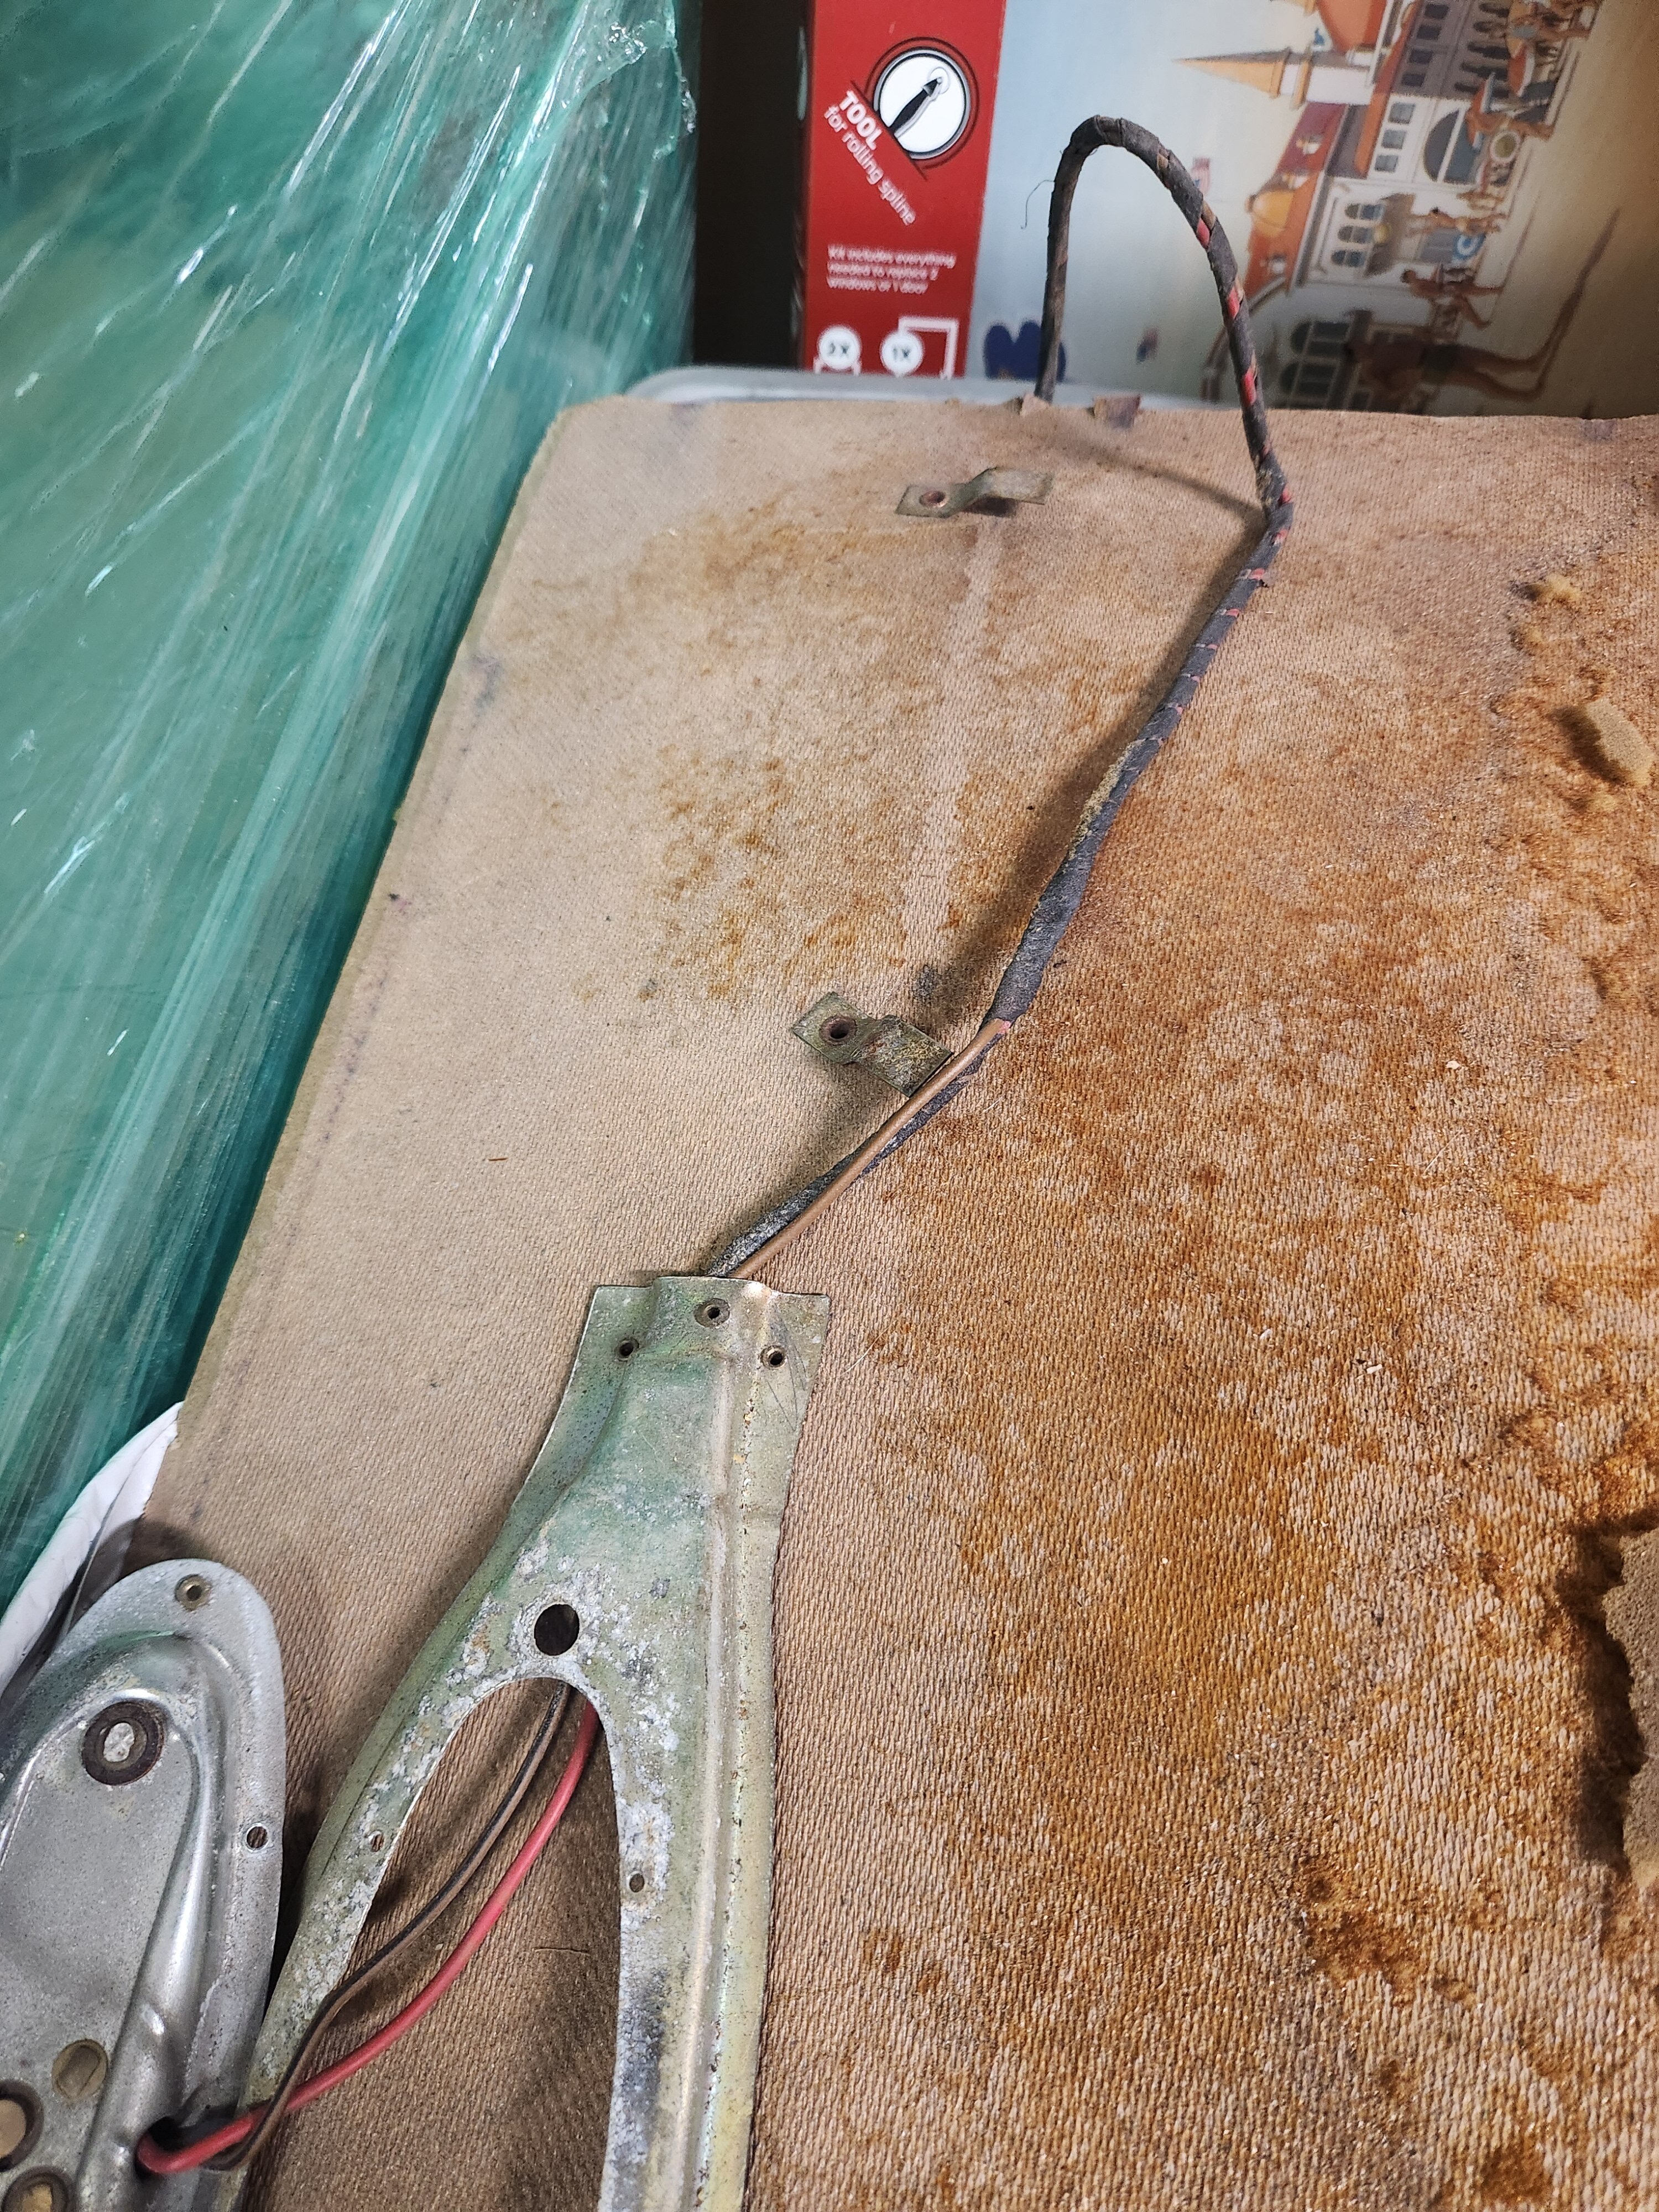
Outdated crusty board pics. There’s foam hooked up to it, I simply haven’t got the froth but.


The brand new board, after drilling:


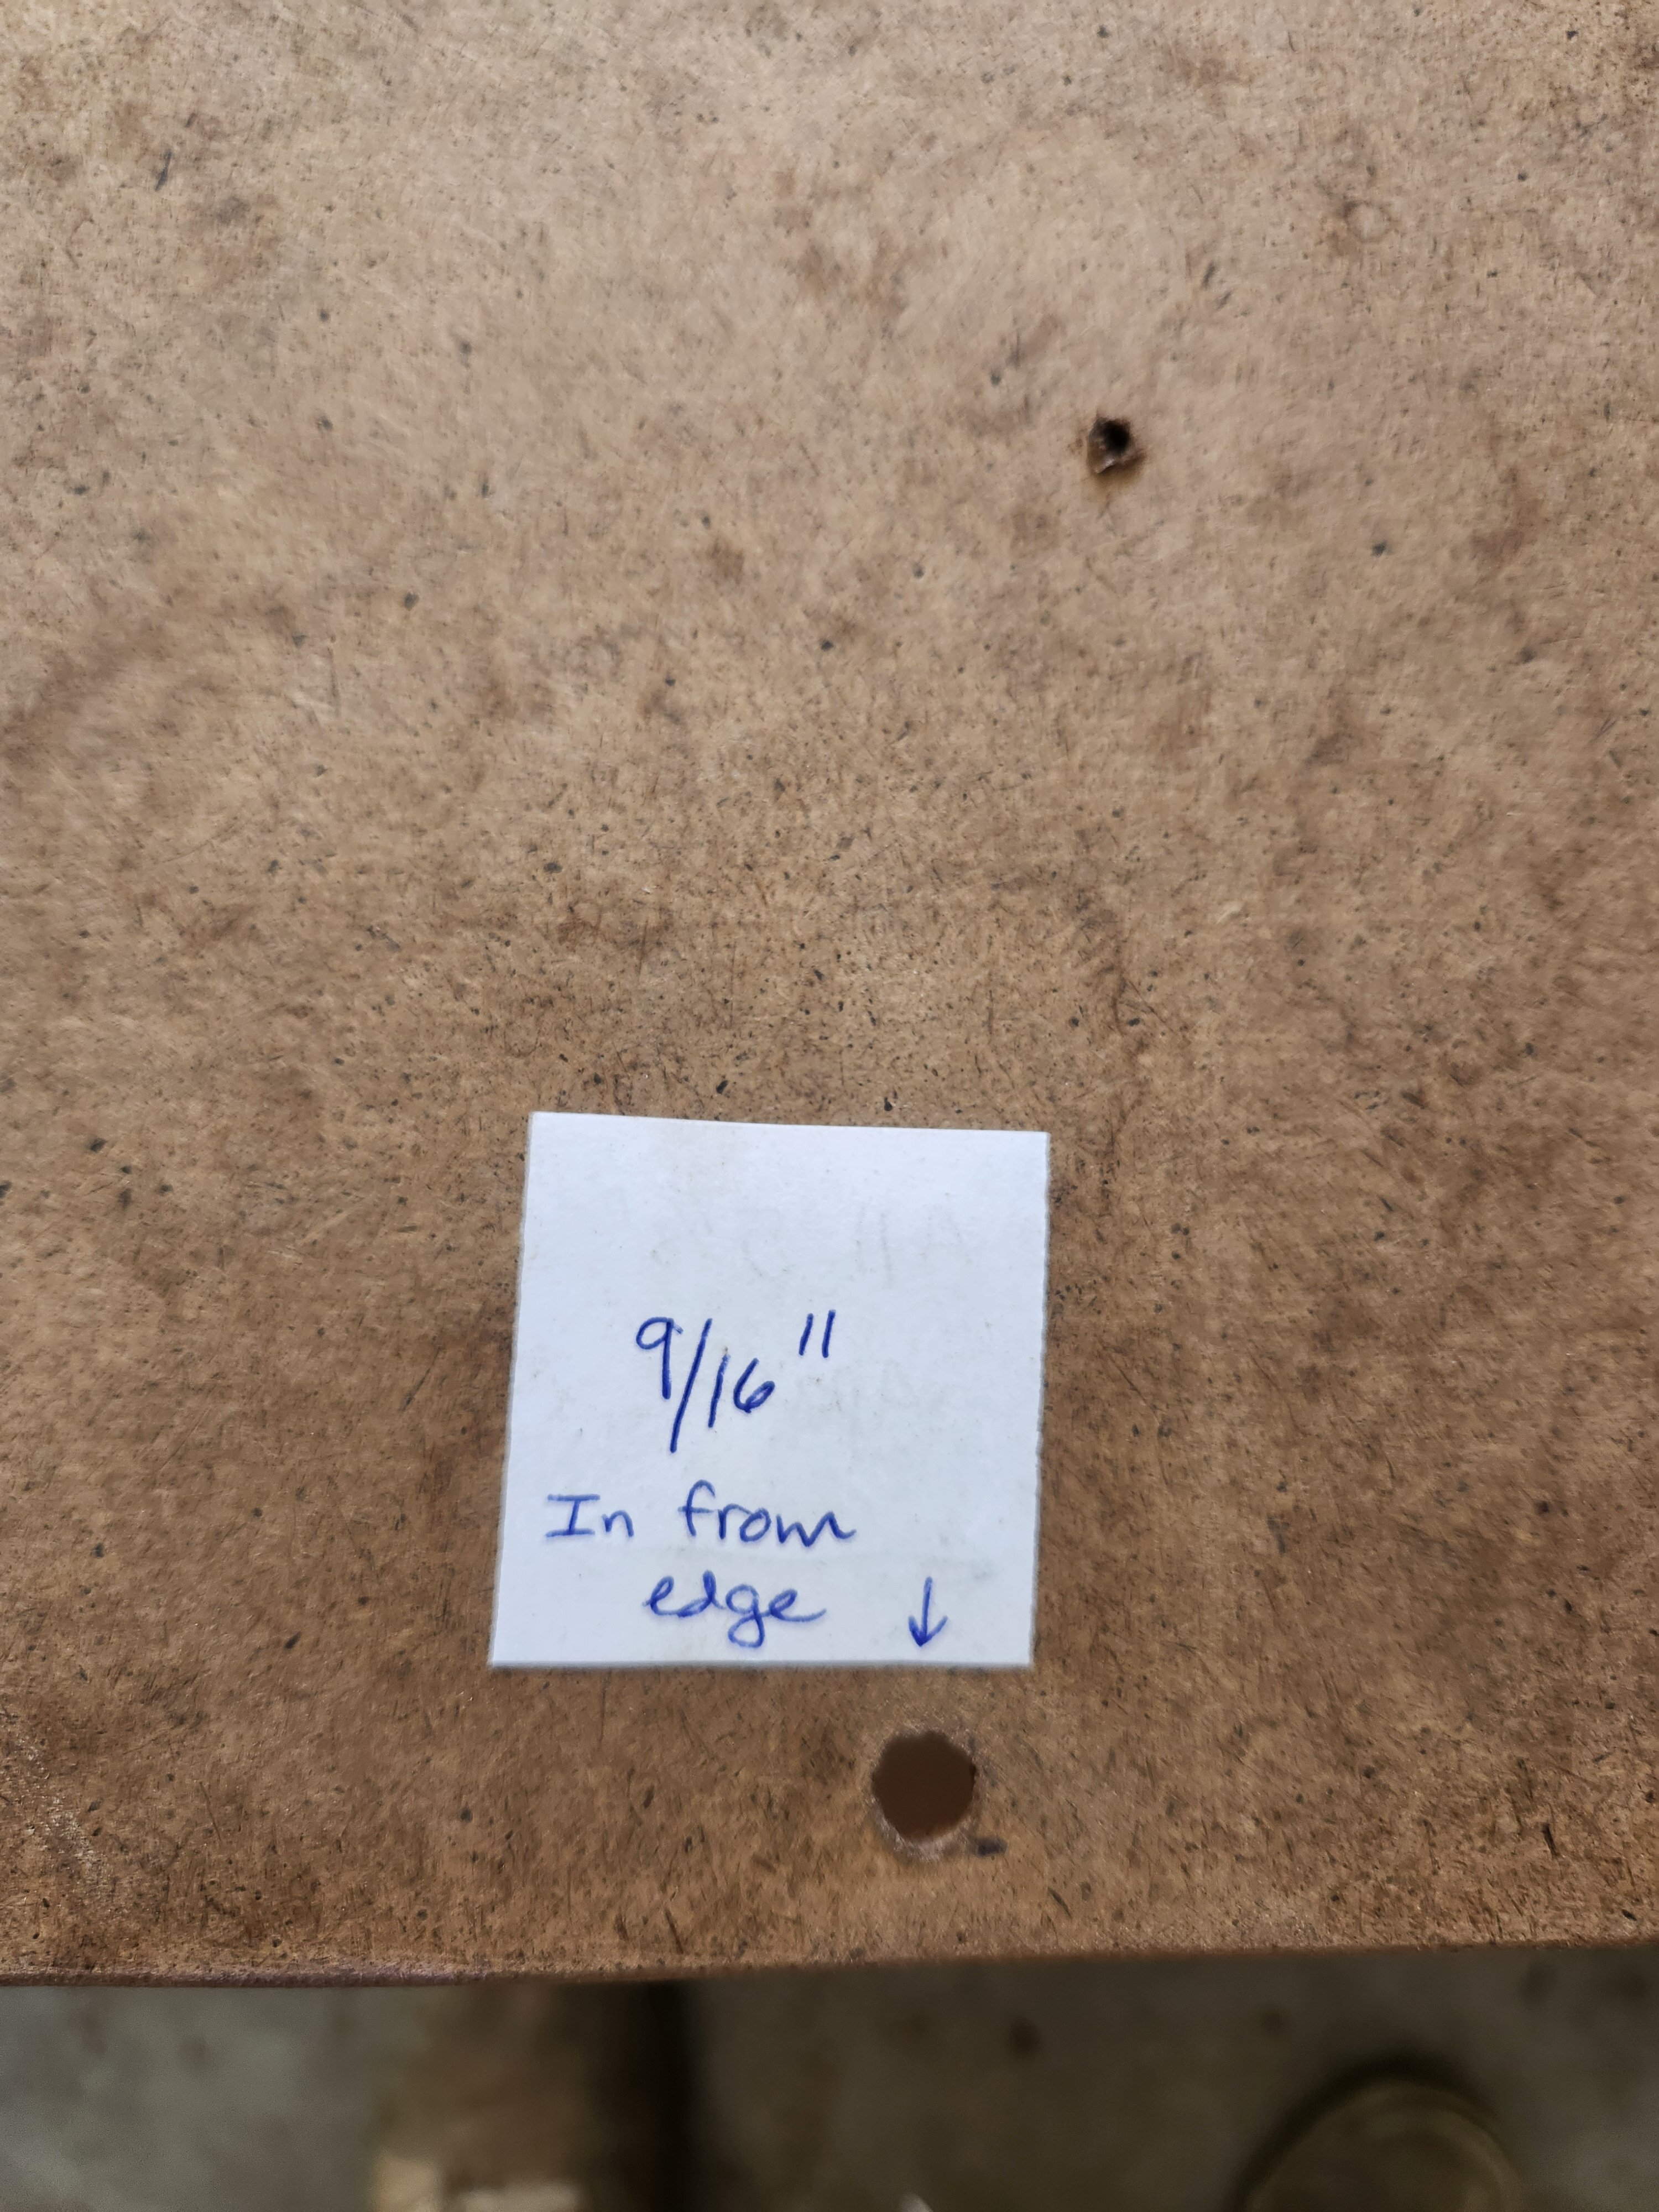
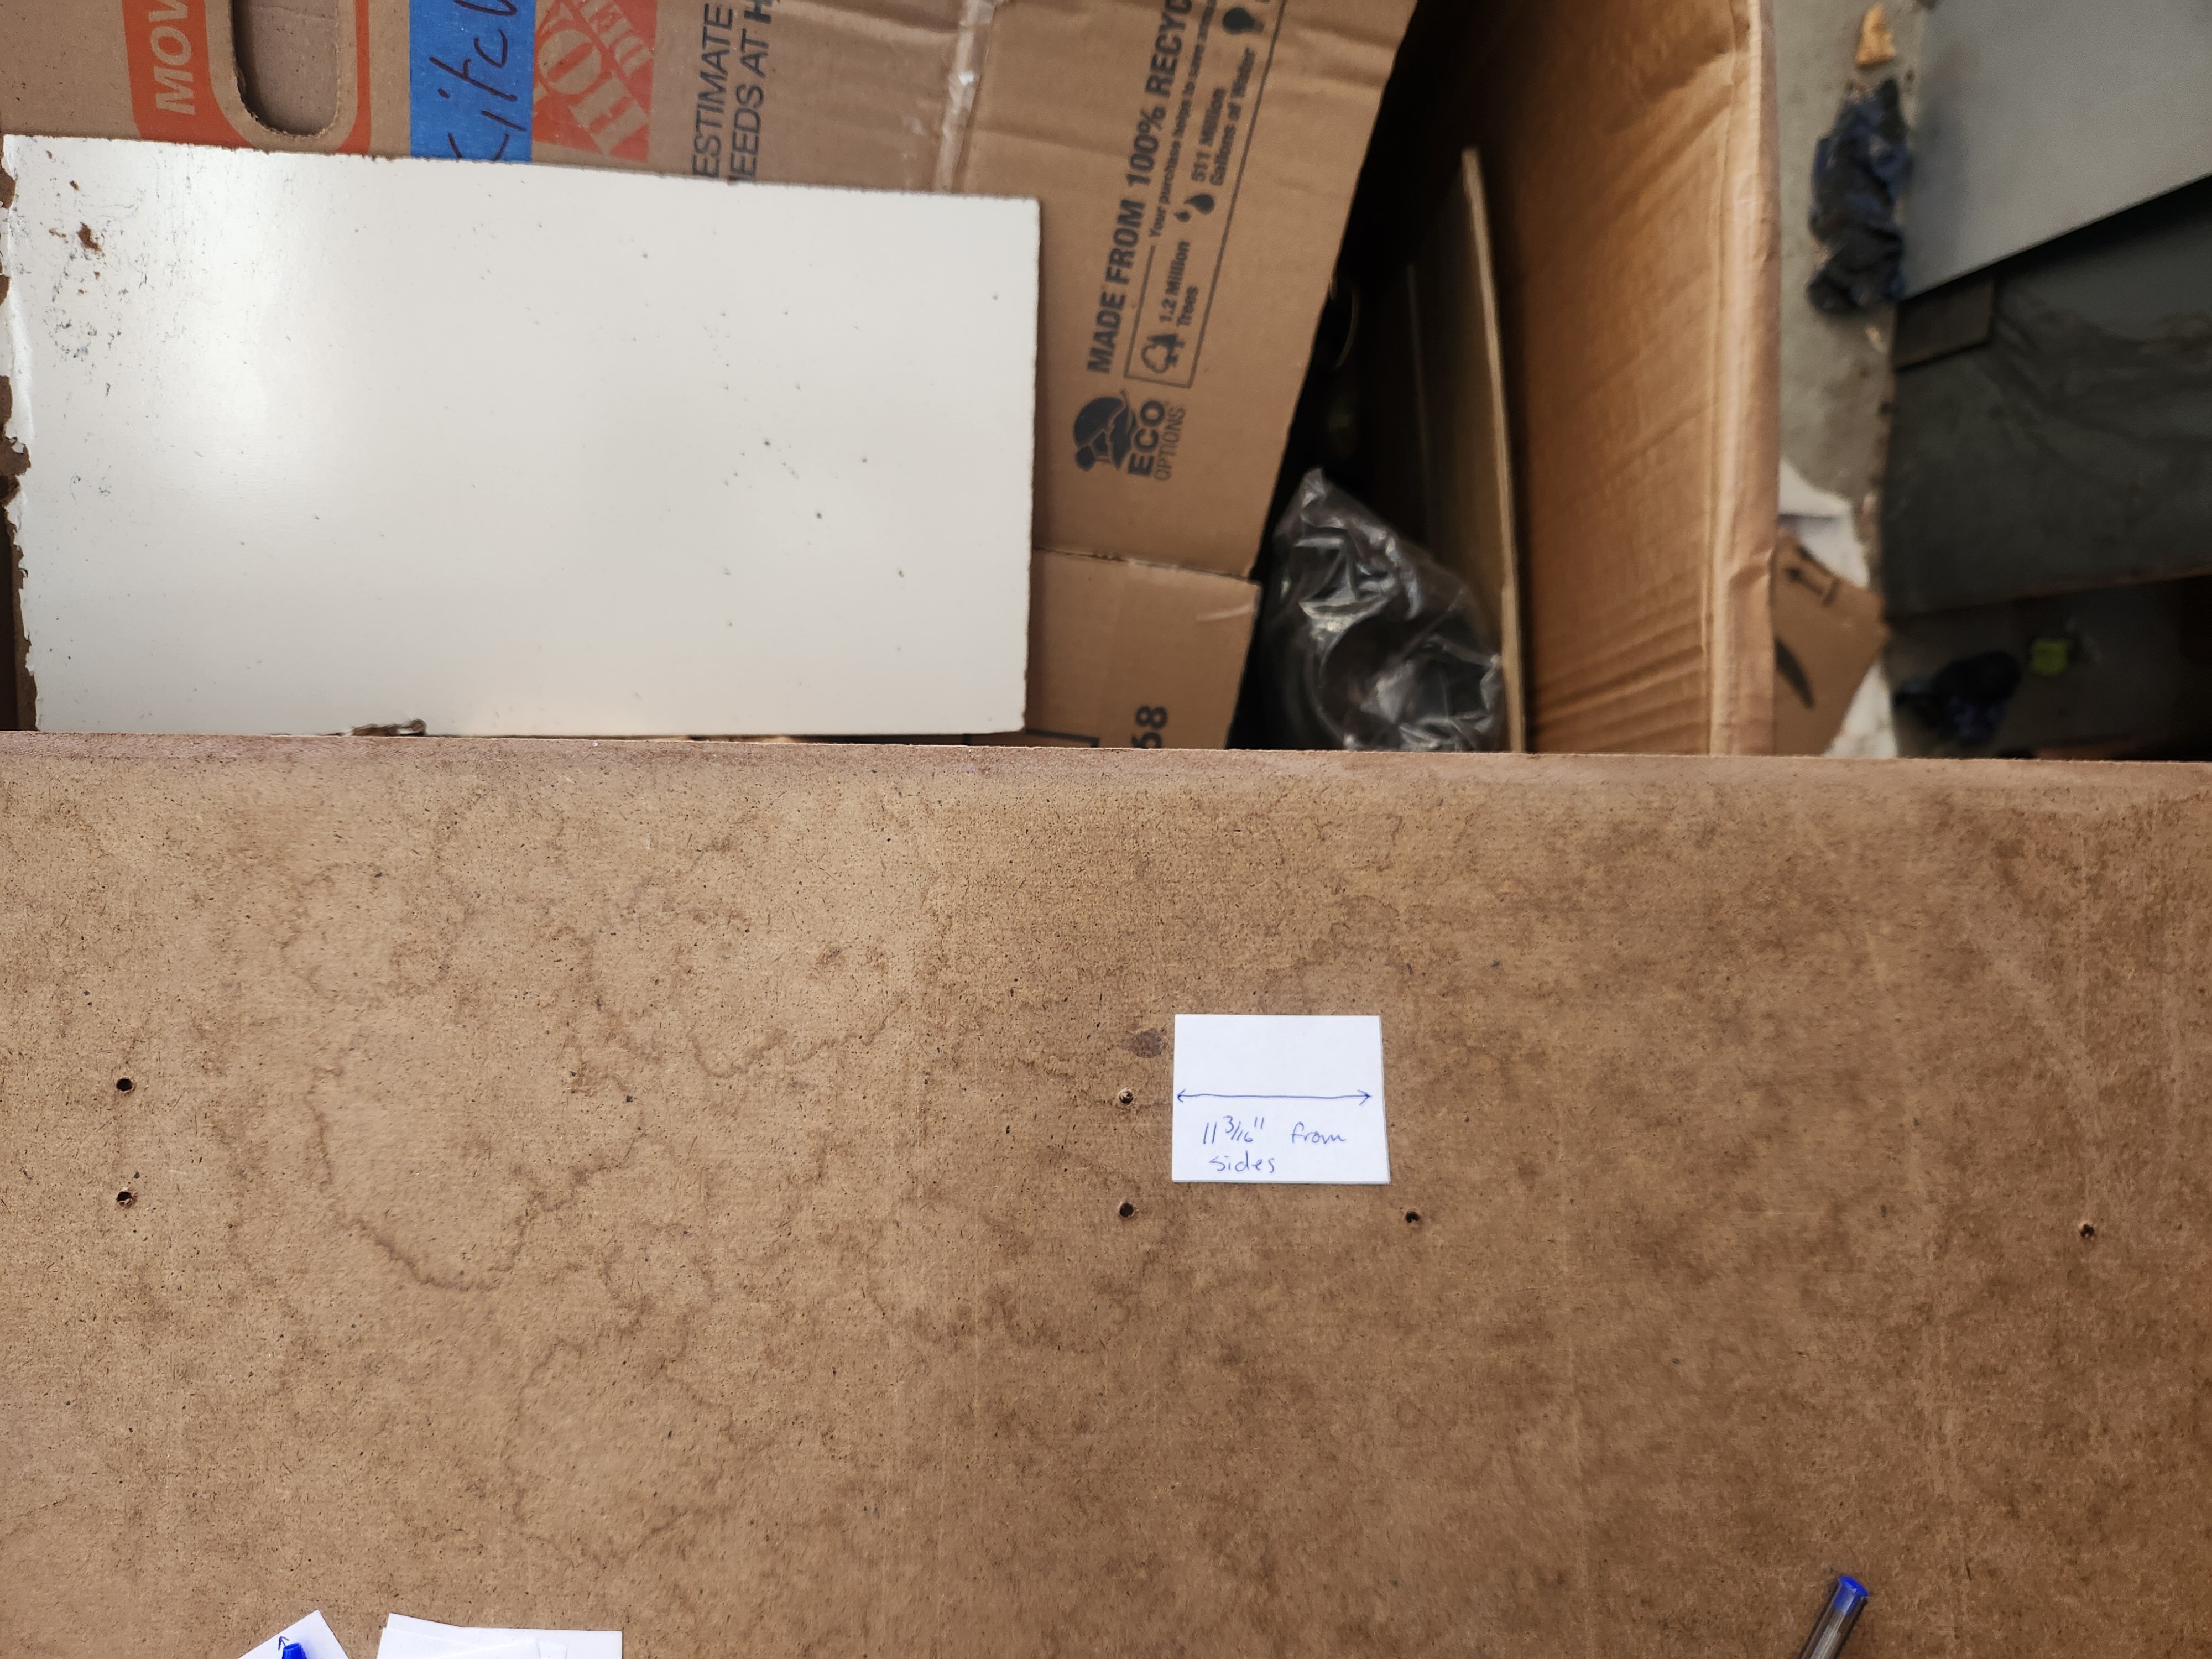
Listed below are the measurements and areas of the holes (all gap measurements are on-center, to not the sting of the holes):
Whole measurement of the panel is 32″ x 17-3/4″

Drill Bit Measurements:

Holes alongside the rear edge for the panel clips (that clip into the roof) are 9/16″ in from the rear (lengthy) edge, and are spaced 5-7/8″ aside.

Holes to rivet within the clips that maintain the straight headliner rod are 5-1/8″ in from the rear (lengthy) edge. The primary one is 2″ in from every of the perimeters and the opposite two within the center are evenly spaced. Spacing left to proper in all probability is not important since these clips are simply holding a rod.


For the rivet holes that connect the dome gentle, they’re positioned 11-3/16″ from both facet and 3-7/16″ from the entrance (lengthy) edge.


The holes for the rivets attaching the brackets for the dome gentle wiring are each consistent with the rear holes of the dome gentle. The left to proper spacing of those does not actually matter. To be extra appropriate although, the primary bracket must be positioned far sufficient away from the dome gentle to connect to the bend within the wiring, the opposite bracket location must be nearer to the sting of the panel. Use your dome gentle and wiring as a information.


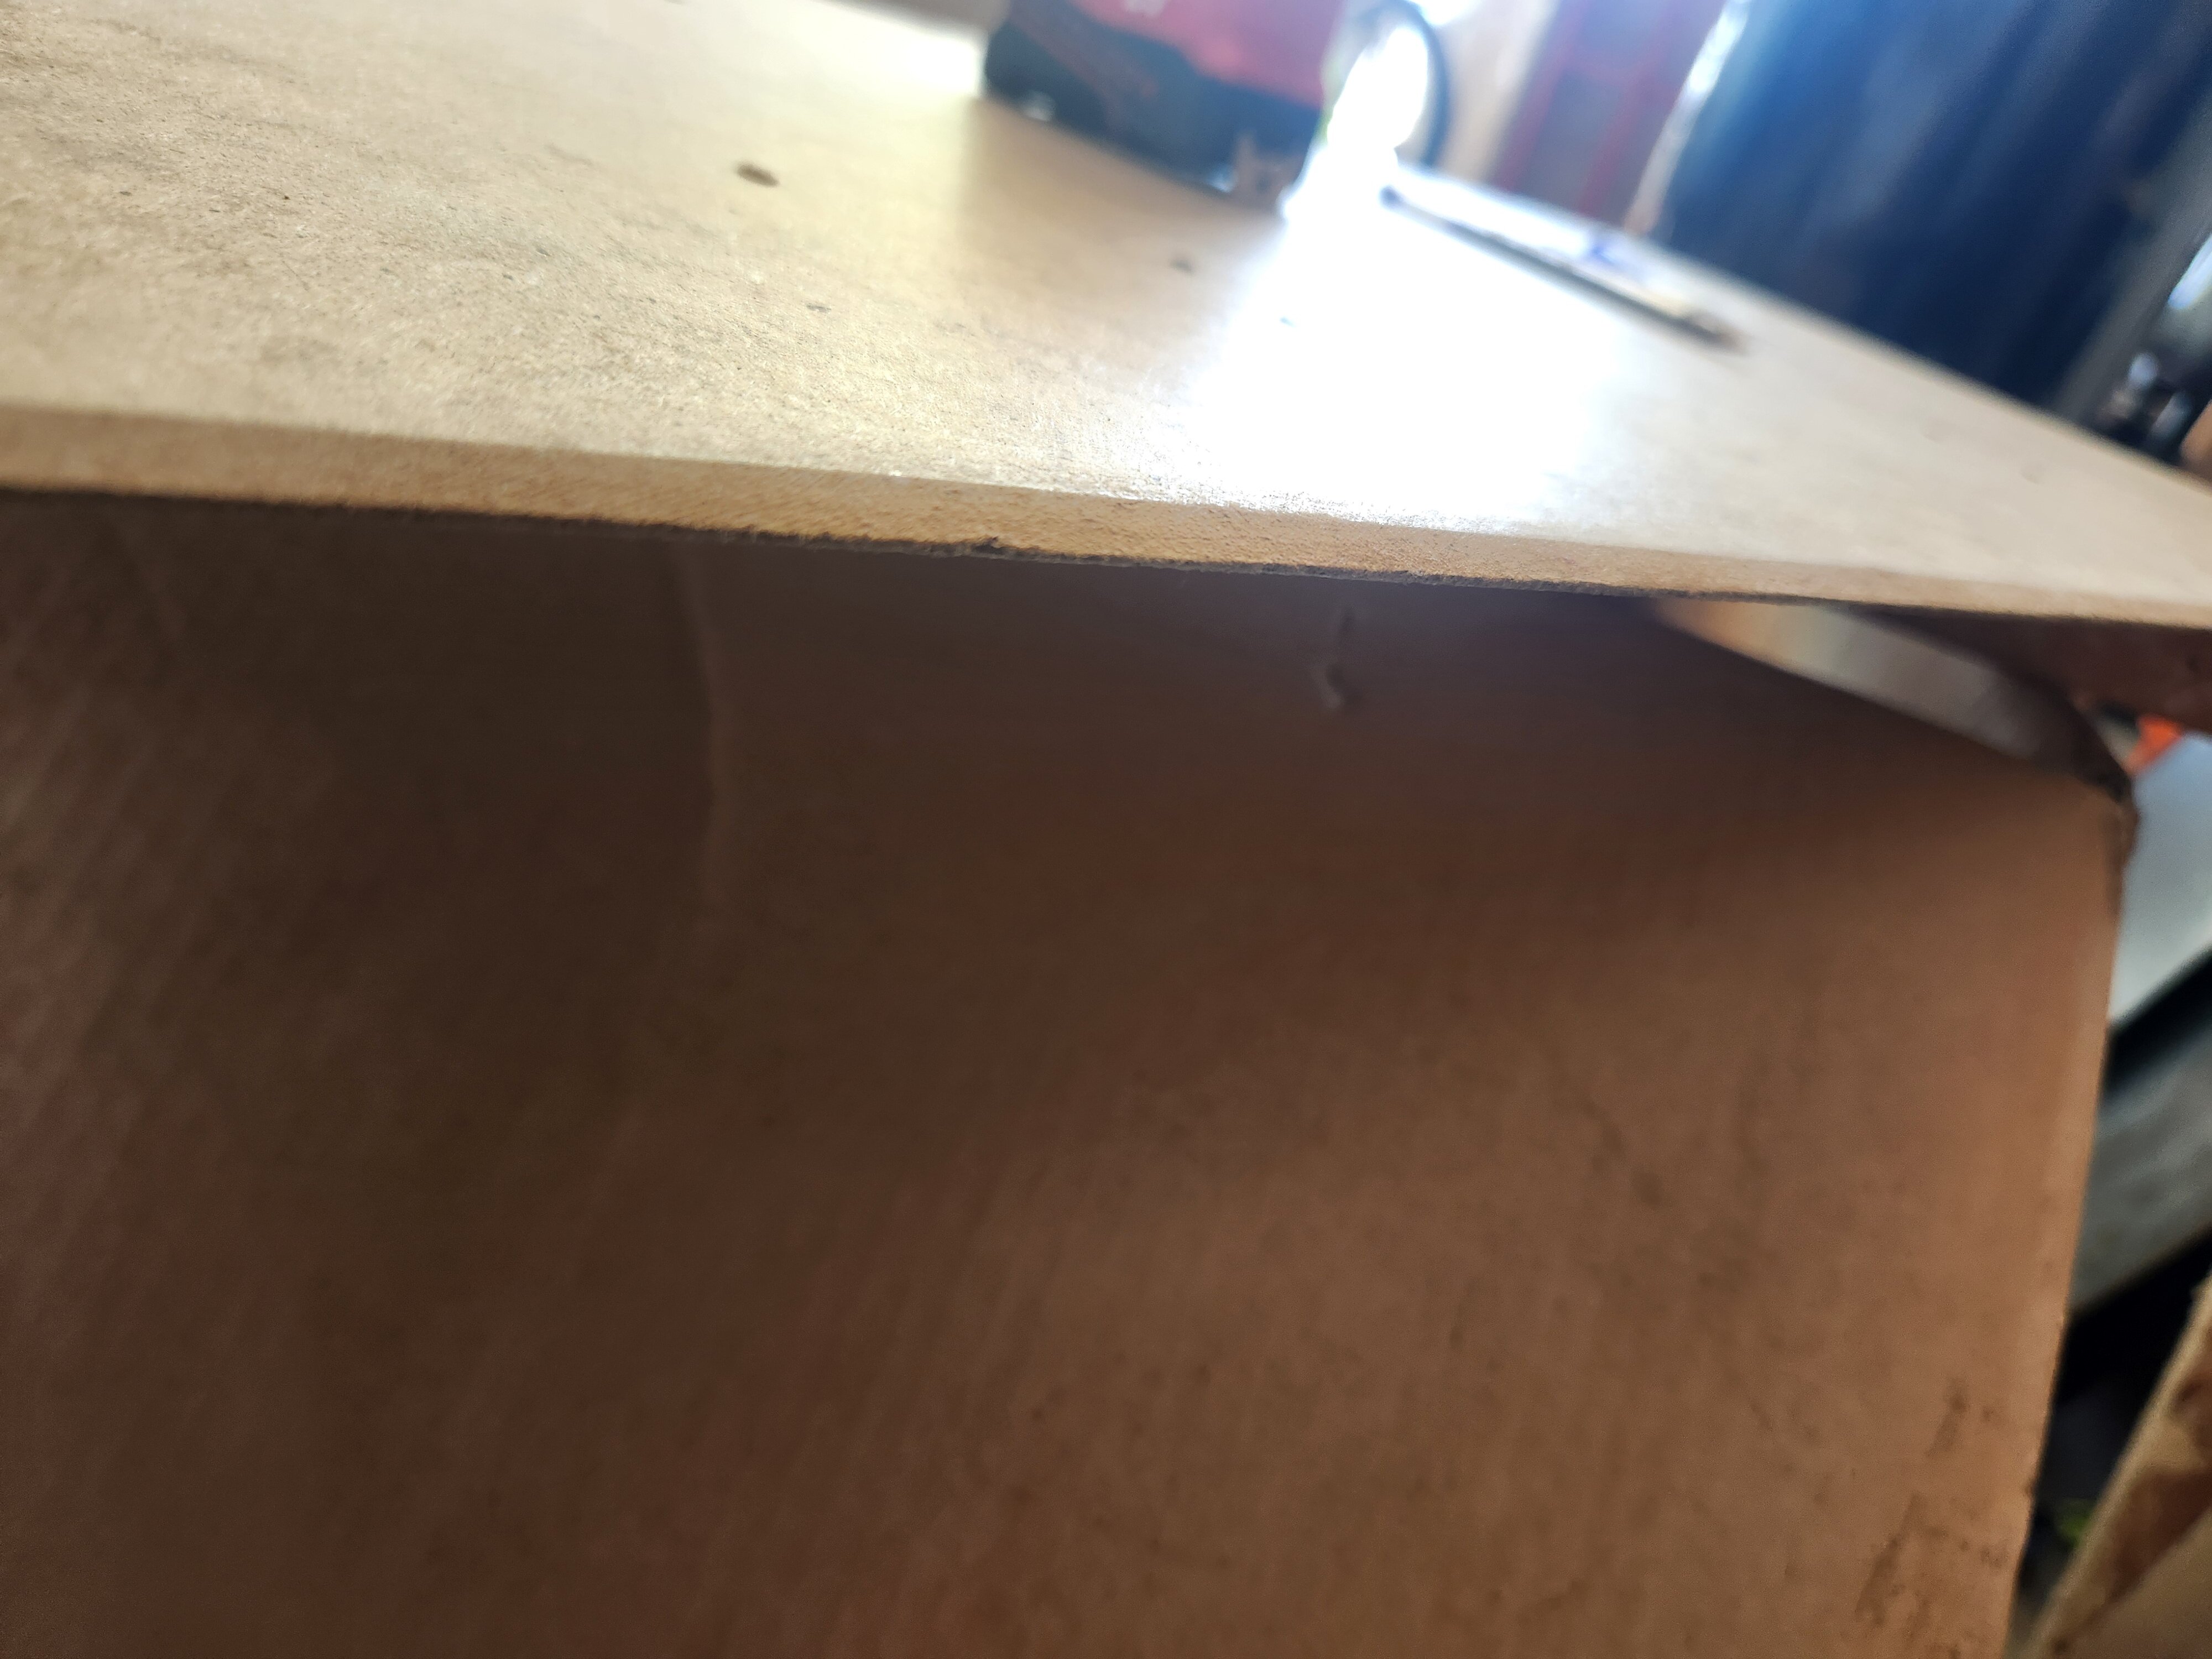
As soon as all of the holes are drilled, it’s essential file down the entrance lengthy fringe of the panel. The panel slides into a really slim slot bracket on the roof, simply behind the sunroof opening, and it’s tapered. Submitting the entrance fringe of the panel ought to mimic this taper. I filed a bit, then take a look at match it, then filed a bit extra, then take a look at match, till I bought it to seat far sufficient ahead for the rear panel clip holes to line up with the respective holes within the underside of the roof. I used a effective metallic file and it went in a short time. This would possibly take a little bit longer if you happen to resolve to make use of plywood. In case you discover within the final of the three footage under, it’s essential get it filed all the way down to just about a effective level.


Utility of the polyurethane varnish. I feel I utilized 3 coats.


Putting in the dome gentle:


Completed product. I have not put in the plastic trim clips or the froth but. I’m not prepared to make use of the panel for some time nonetheless and did not need the clips or the froth to get buggered up, so I’ll set up these proper earlier than the panel goes into the automotive.


[ad_2]